
But let's back it up a step or two, o.k.? With the original hardtail rear section on, a couple of 4 x 4's were shoved under the front half after the pipes and mufflers were removed. This gave the rear wheel about two inches clearance off the ground, and a little bit of wiggle room to remove the rear wheel.

I took the opportunity to compare the new 0" drop, 0" stretched section to the one still in place by positioning the two side by side with close to identical mounting points. (This is how I figured that the original hardtail was 2" drop, 0" stretch. ) For those of you wanting to learn, it ain't too hard. Let's start with stretch- it's just that. A zero inch stretch will give you the same wheelbase as stock, providing you haven't massacred a good frame and raked the neck or extended the front end. A 4" stretch-well, you get the picture, that'll make it four inches longer, and is usually done to give a chopper look, as well as supply more space to mount a battery box and oil tank.
As for drop, it's a bit trickier to understand. No matter what, if you are still running a 4.00 x 18" tire, your axle center is going to sit at about 13" off the ground. However, if you run a 2" drop frame, the frame section is made in a jig that changes the frames shape and angles, leaving the axle center still at the 13" mark, but lowering the frame 2". Point being, when shopping for a hardtail, the amount of drop is lowering the frame AT THE REAR AXLE PLATE MOUNTING vs. THE REAR FRAME CONSTRUCTION. This will change the look of the frame, with different angles than a 0" drop would have. It will also leave your engine sitting higher in the front than at the back--to maintain level with a 2" drop rear hardtail, you would also need to shorten the stock fork tubes by about 2"........
Here we see the 0"drop, 0" stretch in the foreground, background with fender is 2" drop, 0" stretch.

With the wheel and fender removed, I had a clear look from the rear at the oil tank, and will be moving it outward an inch or so, that will give me more room for mounting coils next to the oil tank. Just under the oil lines extending over to the chain will permit a plate to be welded to make a nice base for the battery box.

At this point, the original rear section was removed, leaving me with half a motorcycle. This simply would not do, so the new 0" drop 0"stretch section was bolted into place. A nice piece, it almost aligned itself with the front frame mounting holes with no problem! The rear wheel was put back on, and lo and behold, even on the 2 pieces of 4x4, it now sat on the ground, whereas the old frame section had the wheel 2" off the ground on these same 4x4 pieces. I just gained about 2 inches of ground clearance, and now the engine will sit level like it should!!!

Now comes the fun part, taking care of the details. Tabs will need to be made for things like oil tank relocation, exhaust pipe and muffler location points, fitting the Lycett solo seat, and a rear rack/saddlebag mount. Oh, I did play just a hair....I found this fairly trashed sidecover:
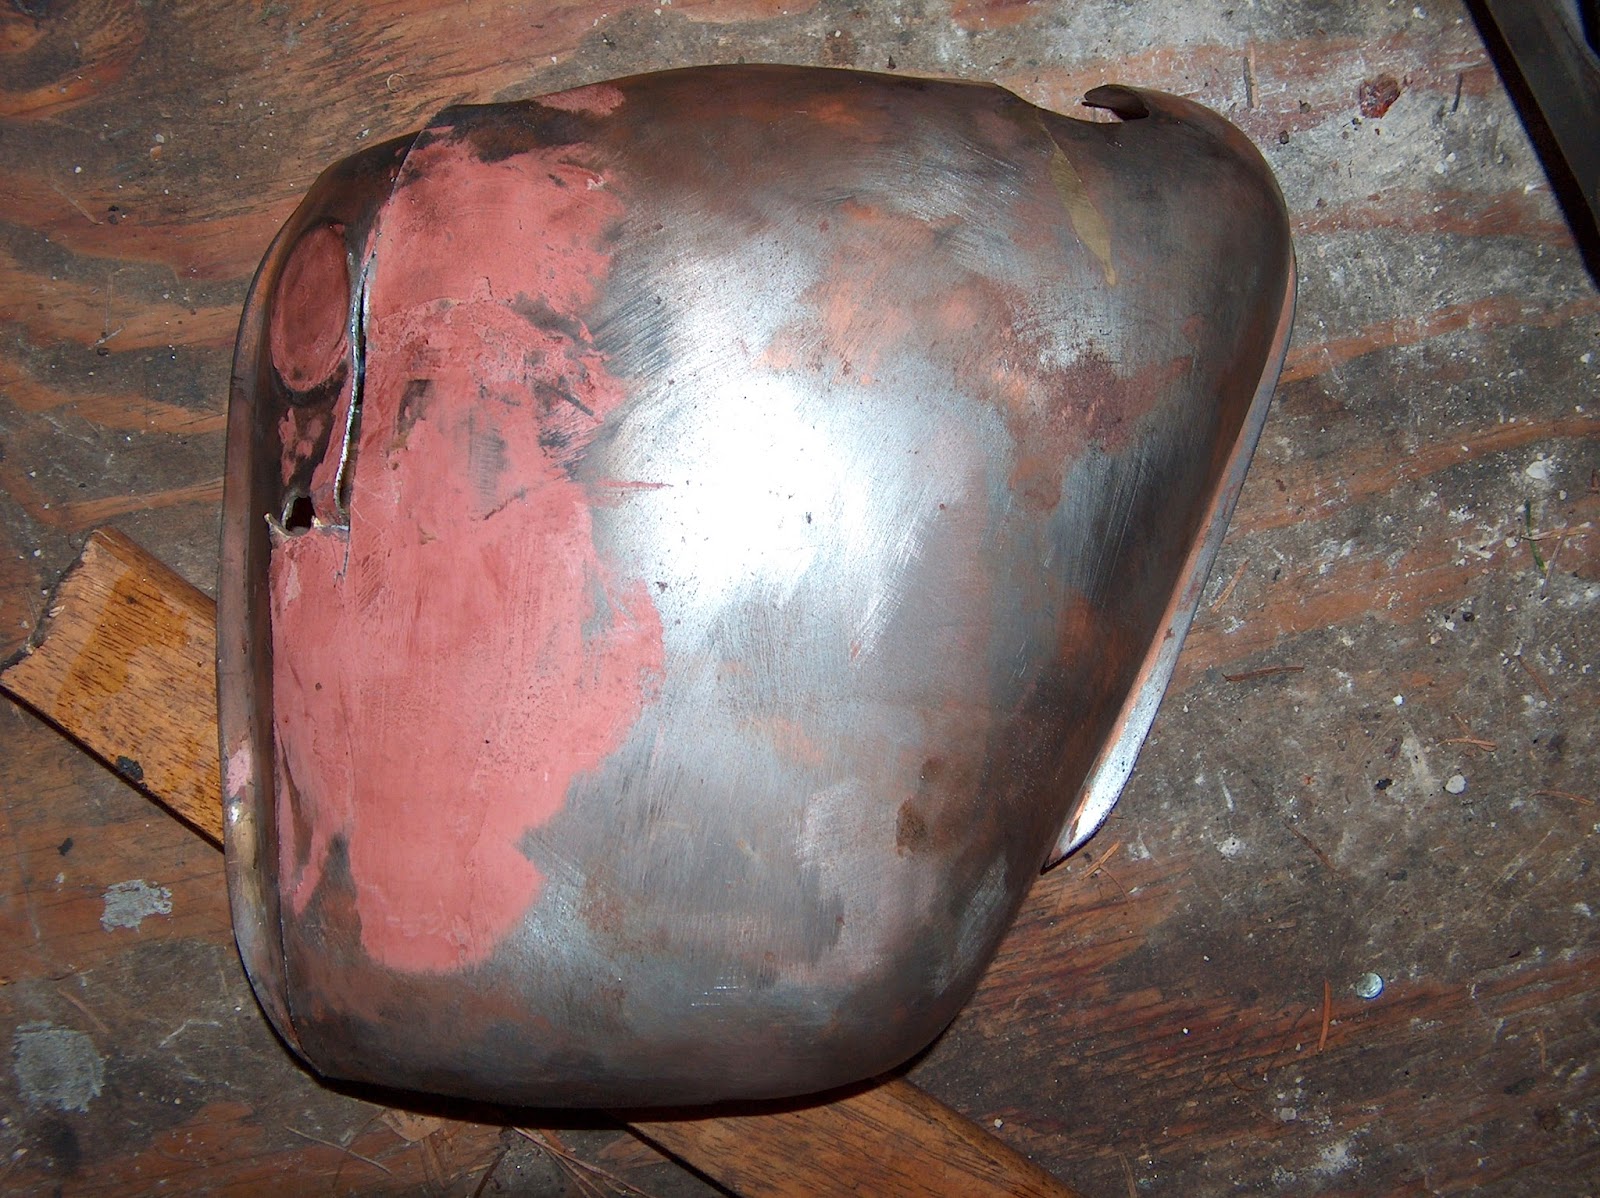
and with a little bit of hacksaw power, started the conversion into this rigid frame side cover instead.....

Of course, a little more shaping is in order....
That's it for tonight! Next time it's onto tabs and oil tank and the rear rack, which will not only hold saddlebags but also be some of the rear fender support.
No comments:
Post a Comment